Learn Color Design
Create a cohesive home, one thoughtful color choice at a time. Learn to choose colors that work together with your light, your belongings and your budget.
About three minutes. Saved only in your browser.
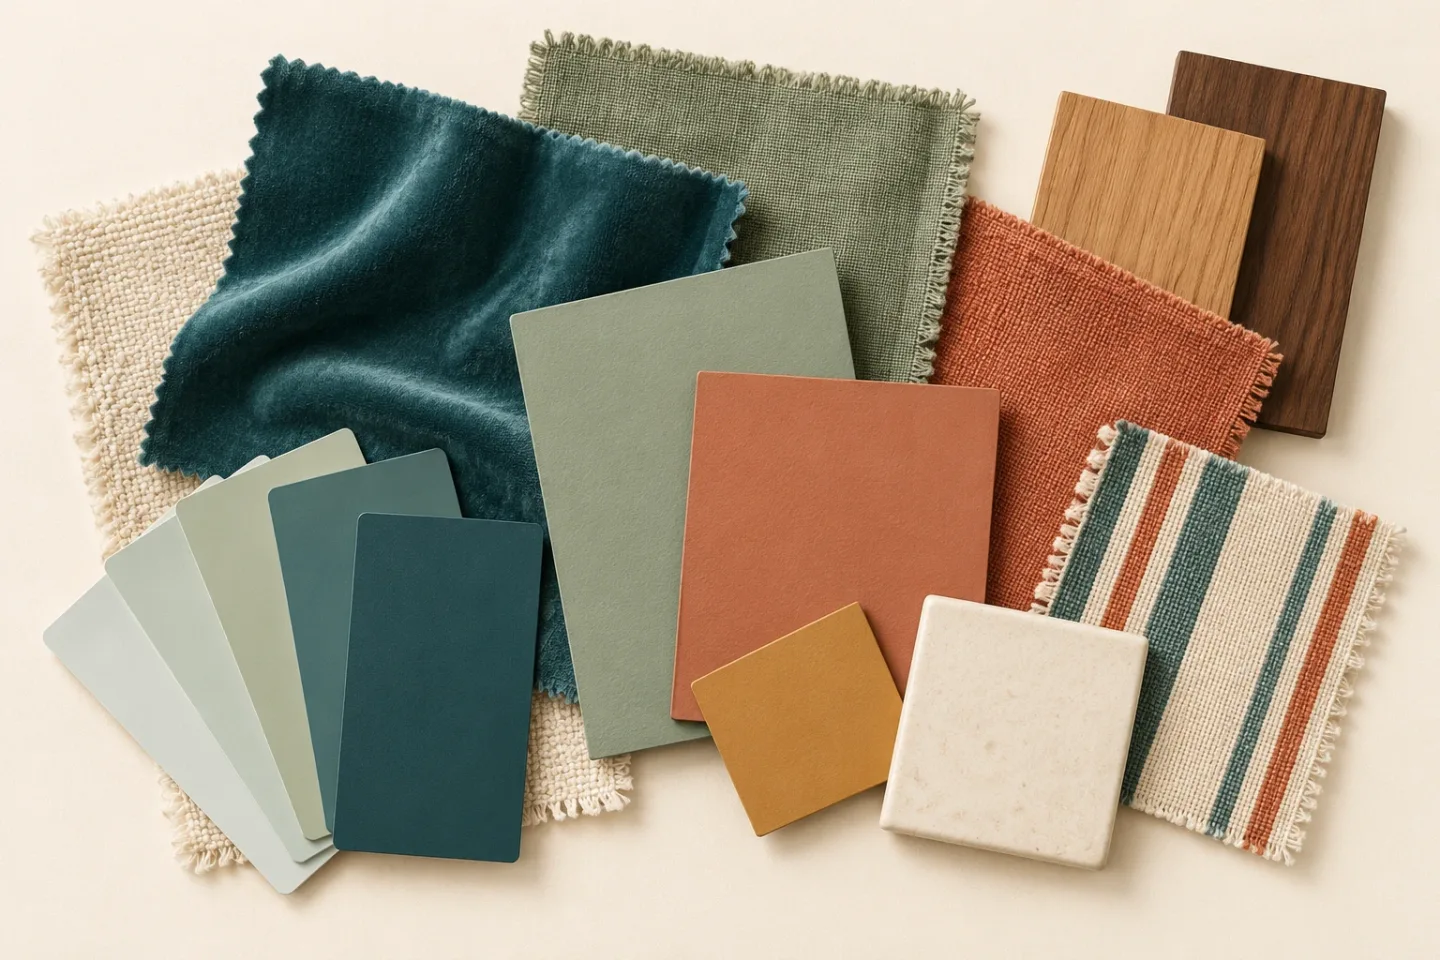
What this course is, and is not
It teaches you to see color more perceptively, to understand why it looks the way it does in a particular room, and to decide with a method you can explain. You work toward a tested color plan for your own home, in a workbook you keep.
It is personal education, not professional training or certification. It does not tell you that one aesthetic is correct, that small rooms must be light, or that there is a best white. Free paint chips, a few samples, poster board and daylight are the only equipment.
A cohesive home does not require replacing everything, painting everything white, or buying matching furniture. Secondhand furniture and 1990s tile get the same attention here as a renovated blank slate. Apart from a few samples, the course never asks you to buy anything before you have looked at it in your own rooms.
How each module is organized
- Understand: the concept, why it matters, and what kind of statement it is: a physical principle, a design convention, a product-specific instruction, or a preference.
- See it: controlled on-screen comparisons where one thing changes at a time, schematic room illustrations, and worked examples from five fictional homes that recur through the course.
- Practice: a small, inexpensive task with an estimated time, usually physical (chips, cards, your own floor and sofa, a window), that feeds your plan.
- Your home: a panel that applies the lesson to the home you described in setup, and says why it says what it says.
- Check your work: criteria, a worked example, common mistakes, and what remains unresolved. Nothing is graded, and you are never measured against a decorating formula. What the criteria ask is whether your choices support what you said you wanted, whether you looked, whether you can explain your reasoning, and whether you tested enough for the decision. A choice that breaks a convention on purpose, with a reason, passes.
- Knowledge check and scenario: a few questions with explanations, and a short branching decision with feedback on each path. The better paths are about looking, reasoning and your own goals, not about which taste is right.
Physical principle marks physics or a well-established finding about perception: something light and eyes tend to do whether or not you agree, though how much it shows in your room is still something to look at. Convention marks a designer's rule of thumb or a starting point to experiment with: often useful, never mandatory, and sometimes reasonably ignored. Product-specific marks guidance that depends on a manufacturer's product and must be checked against the can or the maker's own page. Preference marks taste, yours or someone else's. Test it marks a question only a physical sample in your own room can answer. Screen swatches and room drawings are labelled approximate throughout, and every color exercise sits on a fixed neutral gray that does not change with the light or dark interface theme.
The modules
Start with the home you have
Goals and constraints; what stays, what can change, what is undecided; inspiration kept separate from a shopping list; and an achievable first project.
Learn to see and describe color
Hue, value, chroma, relative warmth and contrast, taught by comparison so you can describe any color you meet without naming it.
Understand color in context
How neighbors, material, texture, gloss and scale change what you see; undertones introduced by comparison, not as a hidden property to be unmasked.
Observe your light
Daylight through the day, bulbs and their labels, the hours a room is used, and what light reflectance value does and does not tell you.
Build around existing materials and belongings
Floors, cabinets, tile, stone, a sofa, a rug, a painting: choosing an anchor, managing competing features, and several coherent responses to the same fixed set.
Develop a palette and distribute it
Relationships, repetition, balance, contrast, emphasis and proportion; translating a palette into surfaces of different sizes, with 60/30/10 as a starting point rather than a law.
Connect rooms into a coherent home
Sightlines, open plans, hallways, thresholds and transitions: how repetition and variation make continuity while each room keeps its own identity.
Choose paint colors and finishes
Walls, ceilings, trim, doors; whites, off-whites, neutrals and saturated colors; why similar whites behave differently; color choice separated from product and sheen.
Sample, observe, and troubleshoot
A disciplined physical test: narrow, prepare, place next to the finishes that matter, observe across locations and hours, record, decide. The limits of chips, sample pots, stickers, screens and photos.
Complete the scheme affordably
Textiles, art, curtains, rugs, lighting and the furniture you already own; the no-paint path; phased changes; which move is worth making first and which purchase can wait.
Your whole-home color plan
Assemble the workbook, review adjacent rooms together, label every decision confirmed, provisional or unresolved, and produce a specification and shopping sequence you can act on.
Your workbook
Ten tools that together become your color workbook: an inventory of the home's existing colors and materials; a preferences and priorities brief; a room-connection and sightline map; a light observation log; a palette builder with colors assigned to roles and surfaces; a physical sample tracker (brand, name and code, product line, sheen, surface, sample method, observations, status); a room-by-room color and finish schedule; a keep / change / later list; a budget and phased purchasing plan; and a decision log with a final review checklist. Plus a glossary and a source library. Everything you type stays in your browser; the workbook page exports it all as one file you keep, imports it on another device, and prints the whole workbook with names, codes, roles and notes intact even where swatches print badly.
Browser storage is convenient and fragile: clearing site data, private browsing, or a different device means an empty workbook. Export regularly. Digital swatches in the tools are approximate screen reminders; the paint specification is the brand, name, code, product and sheen you write next to them, never the hex value.
Five fictional homes you will meet
Worked examples throughout the course use five invented homes, so that the same fixed materials and the same arguments recur and you can watch decisions develop. None are real projects, and none of the illustrations show real paint.
- Larkin Street: a 1970s first home with honey-toned oak floors, beige kitchen and bath tile, and a secondhand olive-green sofa. A tight budget, permission to paint, and a year to do it in phases.
- Pell Avenue: a one-bedroom rental with landlord-white walls that cannot be repainted. Textiles, art, rugs and lighting are the whole toolkit.
- Juniper Court: an open-plan house where the kitchen's gray-veined counters and espresso cabinets and the living room's rust and tan furniture feel like two different homes.
- The Ashby household: two people combining homes and a lot of colorful belongings, one wanting calm and neutral, the other wanting saturated color, with a long hallway connecting everything.
- Wren Lane: a retired owner refreshing one living room used mostly in the evening, keeping every piece of furniture, wanting better visibility and less glare.
Common questions
Can you just tell me the right color for my room?
No, and neither can a form, a photograph or an app, because the color you see depends on your light, the surfaces next to it and the hours you are in the room. There is also rarely one right color: usually several could work, and which one you choose is partly taste. Liking a color is a perfectly good reason to put it on your list; the course then helps you check whether it works with your light and the things that stay. What it teaches is how to narrow to a few candidates for reasons you can name and test them physically, so that the final decision is yours. Module 9 is that test.
I rent and cannot paint. Is this course still for me?
Yes. Modules 5 through 10 each have a no-paint path, because most of what makes a home cohere is the distribution of color across textiles, furniture, art, rugs and light, not the walls. Setup routes you there.
Do I need to buy sample pots, a fan deck or software?
Free paint chips from any hardware store, white and gray paper, poster board and tape cover Modules 2 to 7. Module 9 uses two or three sample pots or peel-and-stick samples for the one room you are testing, which usually costs less than a single gallon of paint, though prices vary. No software, no subscription, and no consultation is required.
Does the course use the 60/30/10 rule?
It explains it as a convention, shows what it can be good for as a starting point, and shows rooms where a different distribution suits what the household wanted better. Conventions here are starting points and experiments, not rules: you are never assessed against one, and breaking one on purpose, for a reason, is fine. The course says which kind of statement each one is.
What happens to my information?
Nothing leaves your browser. There are no accounts, no analytics and no server-side storage. Your setup can be carried to another device by a link you copy; your workbook travels only as a file you export. See the privacy statement.
Suggested path
- This week: fill in setup, read Module 1 and do the walk-through inventory. Pick the first project. Then Module 2 with a handful of free paint chips.
- Next: Modules 3 and 4. Do the surround experiment on your own floor, and start the light log for the first-project room: at minimum, one look in daylight and one at the hours you use the room. Nothing is bought yet.
- Then: Modules 5, 6 and 7. Choose the anchor, write three directions, build a provisional palette, and map the sightlines.
- Before buying paint: Modules 8 and 9. Shortlist candidates (colors you simply like belong on the list), then sample them in the first room beside the things that stay, and look once in daylight and once at the hours you use it. Longer testing is there if a choice is hard or expensive.
- Before buying anything else: Module 10. Rank the changes by effect per dollar and decide the first move and what waits.
- Finally: Module 11. Assemble the workbook, review adjacent rooms together, label what is confirmed and what is not, and export it.